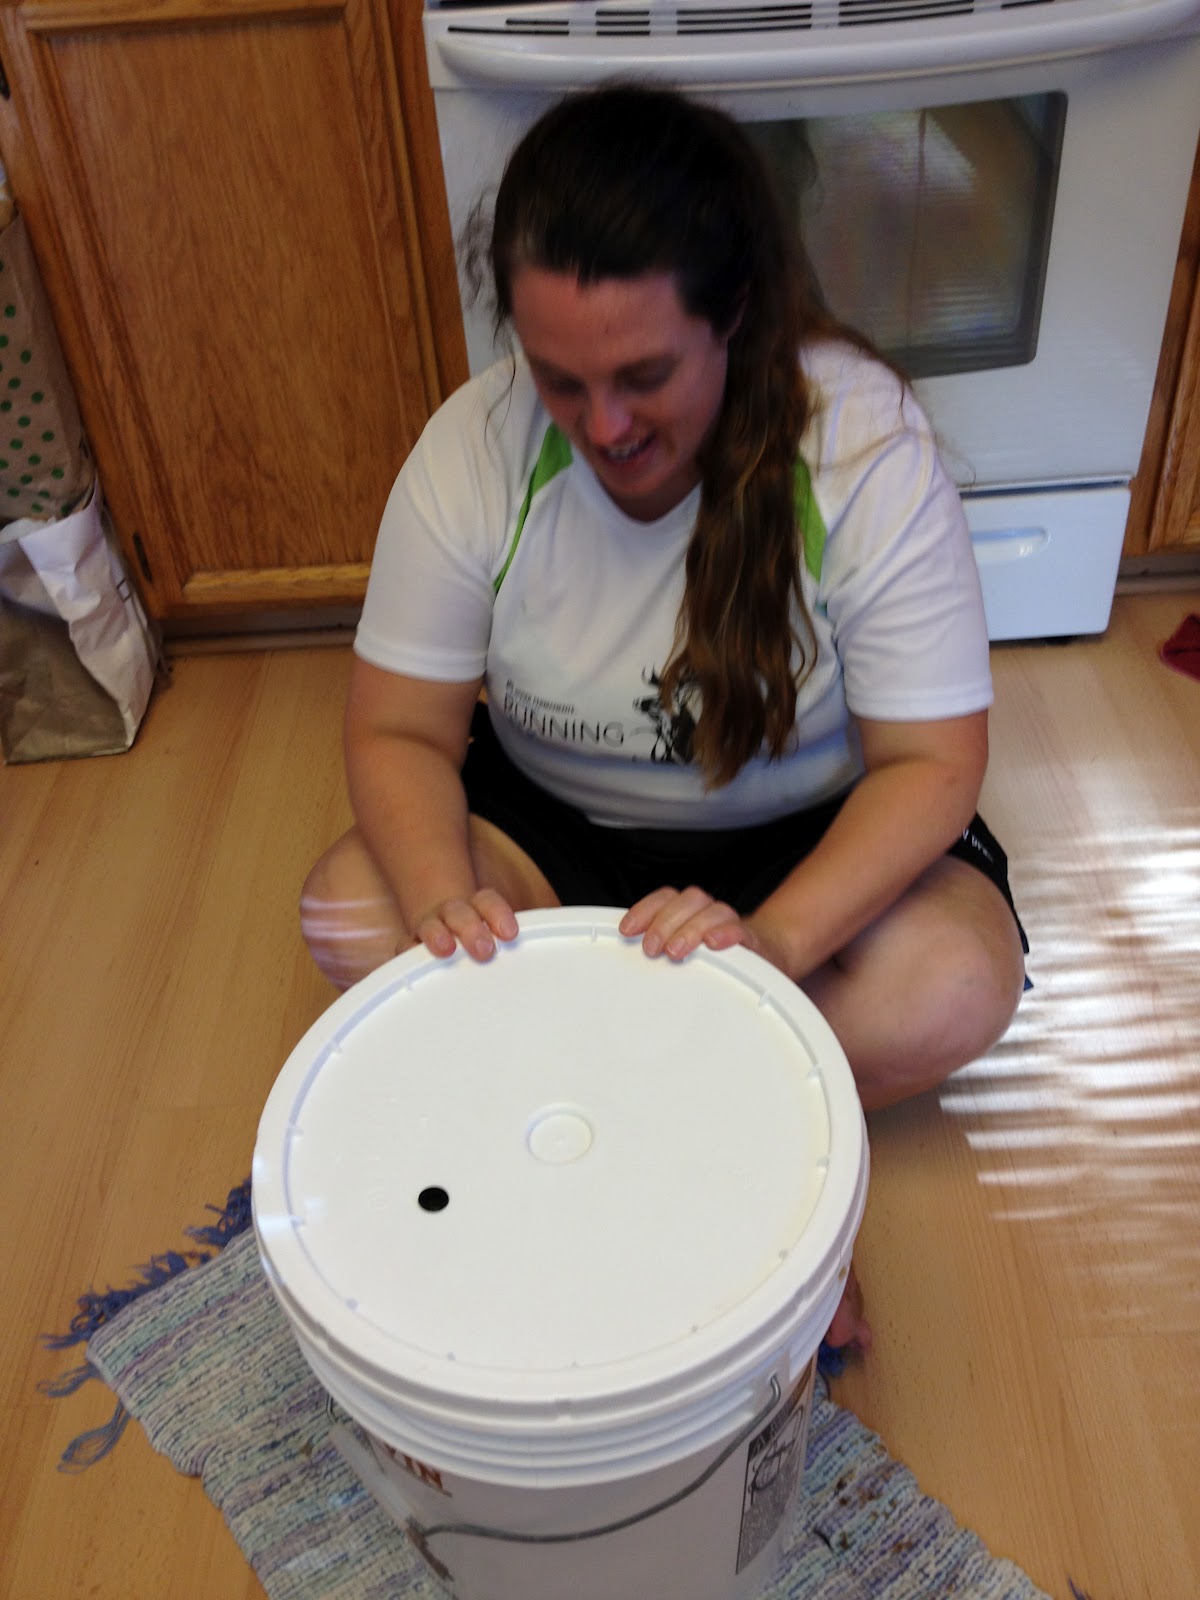
Today after work Elizabeth I and put together a batch of Oatmeal Stout from our local homebrew shop. We've made a lot of beer together over the last few years, and it's always some quality mother-daughter time as well as a win-win situation for both of us as I like to make the beer and she likes to drink it.
For fun, here's how we did it in enough photos to choke a horse. With beer. An Oatmeal Stout, to be exact. Which any self-respecting horse would naturally be happy to be choked with, because, duh, it's oats. My totem grain!
Below is a photo of the grains in the grain bag--we don't have the setup to do whole-grain brewing, so we brew with both grains and malt extract.
You can see the dark malt at the bottom (it's a stout, it's gonna be dark) and the oatmeal at the top. No, there are not some magic oatmeal drops that you can add to a beer to make it oatmeal, you actually add real rolled oats.
This is exactly what you think it is, our brew pot with water being heated up to about 160 degrees F. This is my second brewpot. I had another one, my original tamale pot, which my son borrowed several years ago to make--of all things--beer. I have never seen it since, but what can you do? This is not an expensive brewpot, because when I bought it I didn't think I'd be brewing all that much beer and didn't want to spend a lot of money unnecessarily. Oh, how wrong I was. We made 15 gallons of beer for our family reunion over Memorial Day weekend, and much more besides.

While the water was heating I filled a two gallon bucket with the sanitizing solution that everything that touches the beer after the boil must be slathered with: the funnel, airlock, rubber ring for the bucket lid, the bucket and lid, etc.
Note that I didn't say "sterilize." That's completely impossible to do, but sanitizing is good enough most of the time. I use Star San, which does a good job in a short time and doesn't need to be rinsed.
Here's a good shot of the grain bag getting ready to be gently put into the hot water to make a malt tea. Sort of.
Down, down, down it goes, until it touches the water and the magic starts to happen...
...when the grains hit the water, and...
KAPOW! They immediately start leaking glorious color into the water. For some reason Elizabeth and I really like this part. Maybe it's because it is when you first start to turn water into beer.
Plus it's pretty!
It doesn't take long...
for the color and the flavor of the grains to fill the water with their beery goodness.
We took the vial of yeast out of the fridge a bit later than we should have, so to bring it to room temp I put it in my pocket. Works great!
Of course, the kit came with hops and bottling sugar and LME (Liquid Malt Extract) as well.
But back to the grains. They steep like tea for 30 minutes, and the beer gets darker and richer and a bit sweeter the entire time. Some sweet, but most of the actual malt comes from the LME (or DME, which is the same as LME except dry. Natch.)
Malt tea.
See how dark this is? Some malts are roasted until they are brown, and that's where brown beers like stouts get their color.
While we are waiting for the grains to steep Elizabeth puts the hops into a hop bag and ties it with a string. It'll go in the beer when it starts boiling.

Charlie Papazian says that you must have a homebrew when you're making more homebrew, so Elizabeth did. This is a porter that we made a year or so ago. It's another dark beer, so it ages fairly well.
We're pretty lazy about taking labels off the bottles (that we glean from any source we can) if it's for home consumption. It is really a lot of work, although if we're giving the beer away (or mead, but that's for another post when we make another batch of mead, which won't be until fall, probably), we'll take the time.
To indicate what kind of beer is in the bottle, we write on the cap with a Sharpie-- the P here stands for Porter. It took us hours to think that one up. SN was a Sierra Nevada clone, and B was for a blond ale. We're just so dang clever.
Elizabeth loves to pour beer. Since this has been bottle conditioned, there is a layer of yeast on the bottom of the bottle. It's not going to hurt you and it doesn't taste bad, but for most styles of beer you pour the beer into a glass and leave the yeast behind.
Elizabeth can go into raptures about something as simple as a glass of beer (as I said, I don't drink it, I don't like it at all), and if it's beer she made herself or at least had a hand in, she can go on for days.
I'm often asked how I can make various potables when I don't like them and don't drink them, but it's easy. I can tell if it sucks or if it doesn't, even though it's not something I'd like to drink. So why do I make it? It's fun! It brings out both the scientist and the artist in me, plus it's satisfying to do something that smacks of self-sufficiency. Plus it's a lot cheaper. It might take $50 to make a 5 gallon batch of snooty beer, and you get over 50 bottles out of it. You do the math.
Pretty, ain't it?
Intellectually I know that not all beer types have a foofy head like this, but I admit that I like those that do, as to me it looks like beer if it has a big frothy head. Otherwise it looks like what I drink when we brew:
 |
| I can hear my son shaking his head all the way from Oslo. |
Back to the grains. After 30 minutes it's time to take the grains out of the fledgling beer and let them drain for a few minutes while we add the LME.
The grains have soaked up a lot of water and the bag is surprisingly heavy.
The creature from the black lagoon?
We call this the big scrotum.
While it sits in a sieve for a few minutes, in goes the LME.
It's every bit as yummy as it looks like it is.
Very sticky. One day I'll do a post about how they make this stuff by the kazillions of gallons, and what kept malters in business during Prohibition. Interesting stuff.
Well...to me it's interesting.
Scrape out every viscous drop...
Stir it well, and turn the heat on...high. While that's heating up, back to the grains where we're going to
sparge them with some hot water to get as much beery goodness out of them as we can.
The big scrotum--who looks like he's already had too much to drink--is being sparged by swishing it in hot water.
The more malty water you can get out of the grains the better.
Mmmmmmm! Dump all the spargings into the brew pot and you've got your wort. It must be an English word, because it's pronounced "wert," and God knows those Brits get their sounds all wrong sometimes.
Turn it on high and stir from time to time...
Watch the temp go up...carefully...
...carefully...until finally, AT LAST, it starts to boil, being very careful to NOT let it boil over. If that happens you've got the mother and father of sticky messes, so we watch the thermometer carefully and turn the heat down when it gets close to 212 F.
Then add the hops.
These are bittering hops (Kent Goldings), which need at least a 60 minute boil to bring out the bittering agents (called alpha acids). You can also use hops for flavor, which boil for 5-15 minutes, or aroma, which boil for the last two or three minutes. This particular recipe only had one ounce of Kent Goldings, and will not be very hoppy. I'm thinking that's only right for a breakfast beer, which I'm assuming any beer made with oatmeal must be, right?
No?
It doesn't take very long--just a few seconds--to get the little scrotum. It's our little sophomoric joke, please indulge us.

We get Siri to set the timer for 60 minutes, and we keep the gas high enough to maintain a boil, but not high enough to cause the boil-over. Siri lives but to serve, or so she says.
And we wait. And wait. And WAIT.

While we were waiting I pulled the yeast vial out of my pocket and yep, it was room temp. I put it aside until we were ready to pitch it.
I know that liquid yeasts like this or like Wyeast's smack packs are supposed to be better than dry yeast, but I like dry yeast. I've never had it fail on me, while the smack packs sometimes do. But since this was the yeast recommended by the kit we got, this is what we used.
I like dry yeast because I can have it ready to go within about 15 minutes, while liquid yeasts need some time to get to room temp, and in the case of the smack packs, for the yeast to do some multiplying.
We'll see tomorrow morning how this one does.
Okay, surely it's been almost an hour by now, right?
Siri can do many entertaining things, but evidently speeding up time is not one of them.
It continues to boil and boil and boil until at last! Nine seconds, then DING! (okay, blues piano)
Now turn off the heat and take out the little scrotum, errr, I mean the hops...
And put the pot in the poor woman's wort chiller, aka, the kitchen sink with cold water running in it.
Keep the cold water coming and let it overflow into the other sink, and stir like mad.
It takes about 15 minutes for the wort to cool enough to pour into the fermentation bucket. A real wort chiller would do a more efficient job, but there's no reason for us to get one of those, as we'll probably never make enough beer to justify the expense.
Bwahahahahaha!
I really need to stop telling myself that. Self-delusion is never a good thing.
Now into the bucket it goes! We always pour the wort into the fermentation bucket through a (sanitized) straining funnel.
We do this for two reasons.
One, you want to get as much air into the wort as you can at this point so the yeasties have plenty to do their magic eat sugar fart CO2 act.
But mostly we do it to get out any remnants of the grains or the hops that escaped the bags. You don't have to do this and many brewers don't, but it just leaves that much less junk to rack the beer off of later, so we do it.
Then you add enough cool clean water to hit your specific gravity target and volume (in this case 1.043 and about 5 gallons.
Beer in the making.
Shake the yeast vial until it's all mixed...
Open it carefully...

...and pitch it into the beer. No, not a curveball sort of pitch, it just means to pour the yeast into the beer. We all like our impenetrable jargon, don't we? It makes us feel superior to the rest of you peons who don't know what all those silly words mean!
Yeast and sugars. A marriage made in Beer heaven.
It's like art!
Then you put the lid on, fill the airlock with sanitizer or water, and stick it in the hole. By morning it should be fermenting like mad and the airlock will be bubbling as the CO2 makes my plants happy. In a week or so it'll be ready to bottle, look for another post then.
And in the meantime, we're planning our next batch of beer. Bwahahahahah!
See you in a couple of weeks for the sequel!